
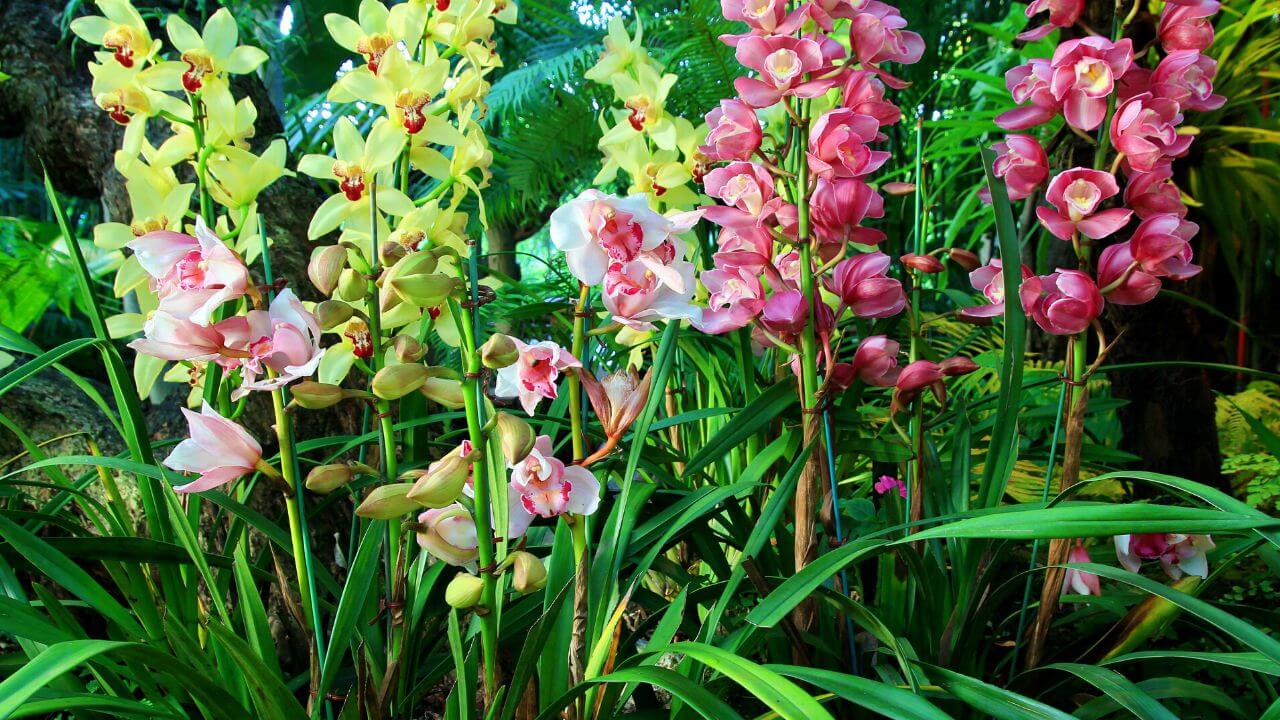
Cymbidium orchids are popular indoor plants because they are easy to take care of and have beautiful flowers. How to grow cymbidium orchid? Elegant and long-lasting, these flowers come in many colors and can last for months. They are a lovely addition to any home.
Growing cymbidium orchids at home are fun because you can see how simple and beautiful they are.
In this blog post, I’ll discuss how to choose cymbidium orchids, put them in pots, water them, feed them, and take care of them, so they do well in your home. I will also talk about common problems and how to fix them to help you figure out how to take care of your orchids if something goes wrong.
Quick Navigation
How To Grow Cymbidium Orchid
Popular orchids of the genus Cymbidium are simple to grow and adaptable to various indoor and outdoor environments. Here are some suggestions on how to grow cymbidium orchids:
Choosing The Right Cymbidium Orchid
When choosing a cymbidium orchid, there are many things to think about. Here are some things you should remember:
- Determine The Size Of The Plant: Cymbidium orchids can range in size from small to large, so consider the size of the plant and the space you have available to accommodate it.
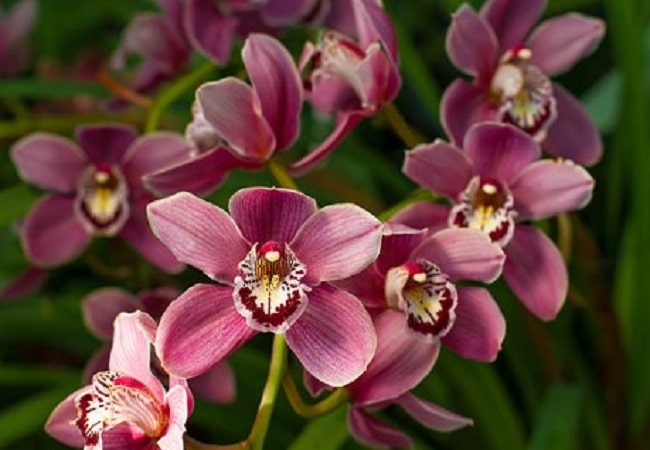
- Flower Color: Cymbidium orchids come in many colors, including white, yellow, pink, red, and shades of green. Choose a color that you find appealing and will complement your home or garden.
- Hardiness Zone: Cymbidium orchids are native to tropical and subtropical regions, so they are best suited to growing in hardiness zones 9-11. If you live outside of these zones, you can produce a cymbidium orchid indoors as a houseplant.
- Check The Growing Requirements: Each cymbidium orchid has specific growing requirements, including the amount of light, water, and fertilization it needs. Make sure you choose a cymbidium orchid suitable for the growing conditions in your home or garden.
- Look For A Healthy Plant: Look for a cymbidium orchid with healthy, green leaves and no signs of disease or pests when shopping for one. Avoid leaves turning yellow or wilting, which could mean the plant is sick.
- Purchase Location: You can purchase cymbidium orchids from a local nursery or online from a reputable retailer. You must research the seller and read reviews before purchasing to ensure you get a healthy, high-quality plant.
Preparing Potting Mix For Cymbidium Orchid
Using the right potting mix is essential for the health and growth of your cymbidium orchid. Orchids have different growing needs than most other plants. A potting mix specifically formulated for them will provide the necessary drainage and support.
Here are some ingredients you can use to make a homemade potting mix for cymbidium orchids:
- Bark: Orchid bark is a common ingredient in potting mixes for orchids. It provides good drainage and allows air to circulate the roots, which is essential for orchids.
- Sphagnum Moss: One kind of moss that is frequently found in orchid potting mixtures is sphagnum moss. It helps to retain moisture and keeps the potting mixture from drying out too quickly.
- Perlite: Perlite is a light, porous material often added to the orchid potting mix. It helps the potting mix drain better and has more air in it.
To pot your cymbidium orchid, follow these steps:
- Choose a pot slightly more significant than the one you are using now and has drainage holes.
- Fill the pot with your homemade potting mix, leaving a few inches of space at the top.
- Carefully remove the orchid from its current pot, careful not to damage the roots.
- Place the orchid in the new pot, ensuring that the potting mix fully covers the bases.
- Water the orchid thoroughly to help settle the potting mix around the roots.
Using the right potting mix and properly potting your cymbidium orchid can help it thrive and produce beautiful flowers.
Watering And Fertilizing
Watering and fertilizing are essential for the health and growth of your cymbidium orchid. Here are some tips for watering and fertilizing your orchid:
Watering:
- It would help if you watered your cymbidium orchid every few days, but let the potting mix dry out a little between waterings. Root rot can happen if you water too much.
- Water your orchid with room temperature water, as cold water can shock the plant.
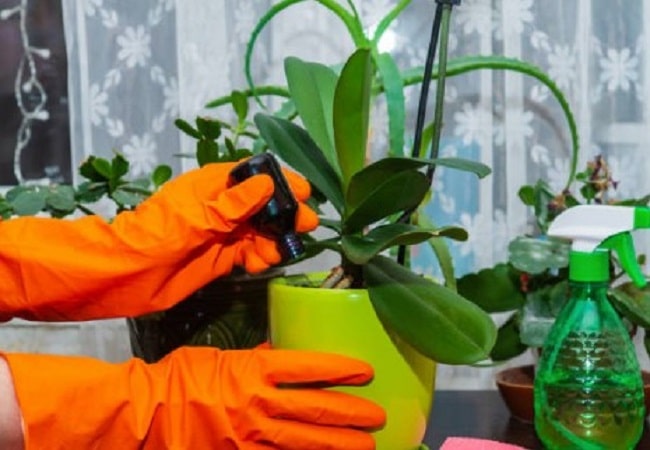
- You must avoid getting water on the foliage, which can lead to rot and fungal infections. Instead, focus on watering the potting mix around the roots.
- It would help if you watered your cymbidium orchid about once a week. Still, the number of times may change based on the humidity and temperature where you live.
Fertilizing:
- Fertilize your cymbidium orchid with a balanced orchid fertilizer every two to four weeks throughout the growing season.
- Follow the manufacturer’s directions when using high-nitrogen fertilizers.
- Avoid fertilizing during dormancy, usually late autumn to early spring.
- It would help if you calculated fertilization frequency. In such a situation, fertilizing less often is safer.
Providing The Right Light And Temperature
Your cymbidium orchid needs the proper lighting and temperature conditions to thrive and grow. Here are some guidelines for lighting and temperature:
Light:
- Cymbidium orchids like indirect, bright light. Place in an area with lots of natural light, but not in direct sunlight, as this may cause the leaves to turn yellow and the blossoms to fade.
- A south- or east-facing window is often a good location for growing your orchid indoors.
Temperature:
- Cymbidium orchids prefer a temperature range of 60-70°F during the day and 50-55°F at night.
- Avoid placing your orchid in a location where the temperature fluctuates dramatically, as this can cause stress to the plant.
- If you are growing your orchid indoors, keep it away from drafts or heating and cooling vents.
Repotting And Dividing
Repotting and dividing are essential tasks for maintaining the health and growth of your cymbidium orchid. Here are some recommendations for splitting and repotting:
Repotting:
- Cymbidium orchids may need to repot every 2-3 years as they grow.
- To repot your orchid, gently remove it from the pot and trim away any dead or damaged roots.
- Please choose a new pot slightly larger than the old one and fill it with a potting mix specifically formulated for orchids.
- Place the orchid in the new pot, ensuring that the potting mix fully covers the roots. Water the orchid thoroughly to help settle the potting mix around the bases.
Dividing:
- Cymbidium orchids are divided by separating offsets, or “baby” plants, from the main plant.
- To divide your orchid, gently remove it from the pot and look for offsets, or small plants, growing near the base of the main plant.
- Carefully separate the offsets from the main plant, careful not to damage the roots.
- Pot each offset in its pot, using a potting mix specifically formulated for orchids. Water the offsets thoroughly to help settle the potting mix around the roots.
How To Plant Cymbidium Orchid Seeds
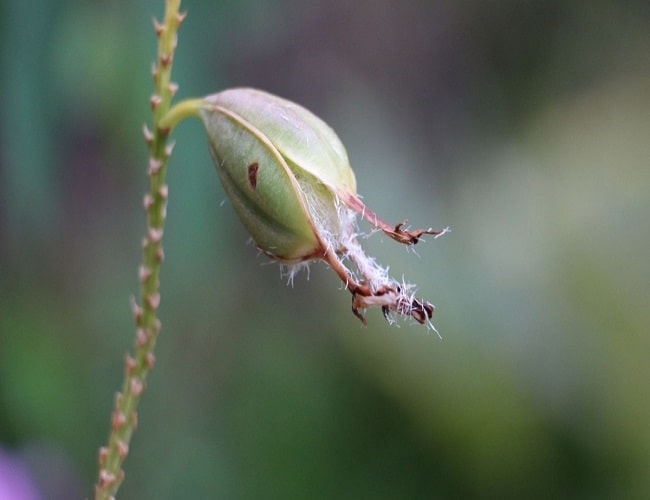
Planting cymbidium orchid seeds are challenging and time-consuming process, as orchid seeds are tiny and require specialized care to germinate and grow. Here is a general overview of the steps involved in planting cymbidium orchid seeds:
- Obtain Orchid Seeds: You can purchase orchid seeds from a reputable supplier or collect them from a mature plant.
- Sterilize The Seeds: To keep them from getting dirty, you must sterilize them by putting them in a 10% bleach solution for 10 minutes and then rinsing them well with clean water.
- Prepare The Potting Mix: Orchid seeds require a sterile, well-draining potting mix specifically formulated for orchids. You can purchase a commercial mix or make your own by mixing equal parts of orchid bark, sphagnum moss, and perlite.
- Sow The Seeds: Place them on top of the potting mix, not burying them. Mist the seeds lightly with water to help keep them moist.
- Provide The Right Conditions: Orchid seeds require high humidity and indirect light to germinate. To maintain these conditions, cover the pot with a clear plastic bag or wrap it and place it in a location with indirect light.
- Water And Fertilize: Water the potting mix regularly to keep it moist, but avoid overwatering, which can lead to rot. Fertilize the seeds with a weak orchid fertilizer once they have germinated.
Planting cymbidium orchid seeds takes time and patience. With care, orchid seeds should germinate and mature into healthy plants.
Common Problems And Solutions
When growing cymbidium orchids, there are a few common problems that can happen, and some possible solutions for these problems are:
- Yellowing Leaves: Yellowing leaves are signs of over- or under-watering or lacking nutrients. To troubleshoot this issue, check the moisture level of the potting mix and adjust your watering schedule as needed. You may also want to fertilize your orchid with a balanced orchid fertilizer to provide the necessary nutrients.
- Lack of Flowers: Insufficient light or fertilization may cause this. Make sure your orchid gets adequate light but not too much direct sun, and fertilize it using a 20-20-20 formula at half strength every two weeks during the growing season.
- Stunted Growth: Your cymbidium orchid isn’t growing well because it needs more light or fertilizer. Make sure the plant gets enough light and changes when you feed it.
- Brown or Black Spots On Leaves: Bacteria or fungi can create these patches. Remove the affected leaves and treat the plant with a fungicide or bactericide.
- Root Rot: Overwatering or poorly draining potting mix can cause this significant problem. Use orchid-specific potting mix and water your orchid regularly to prevent root rot. If root rot occurs, remove the afflicted roots and repot the orchid in a fresh potting mix.
In The End
Growing a cymbidium orchid is easier than it may seem. You can succeed if you take the time to provide the right environment, watering and fertilizing schedule, and additional care when needed. By following these steps and being consistent with your respect, you can reward with beautiful blooms year after year. Growing cymbidium orchids is a rewarding experience that can bring great joy to those willing to invest a bit of effort.
Most Commonly Asked Questions
Can Cymbidiums Take Full Sun?
Cymbidium orchids enjoy bright, indirect sunshine but can withstand direct sun in the morning or late afternoon. However, prolonged sun exposure can burn or yellow the leaves.
In warmer summers, shade your cymbidium orchids during the day. Place the plants in dappled sunlight or use a shade cloth.
Do Cymbidiums Need Deep Pots?
Cymbidium orchids need space for their roots but don’t need deep pots. These orchids need a large pot since their long, deep roots proliferate.
If the pot is too small, the roots can get too close together, which can cause problems like less growth and bloom. In contrast, a pot that is too large could retain too much water, which might lead to root rot.
Can You Grow Cymbidium Orchids Indoors?
Yes, it is possible to grow cymbidium orchids indoors. Cymbidium orchids are adaptable plants that can thrive in various environments, including indoors.
Indoor cymbidium orchids require bright, indirect light, humidity, and a well-draining potting mix. Water and feed the orchid as instructed before. Give the plant enough heat and moisture to flourish.
A south- or east-facing window is ideal for growing orchids indoors. The orchid may require a grow lamp or another artificial light source.
Can You Plant Cymbidium Orchid In Vase?
It is possible to plant a cymbidium orchid in a vase. Still, it is not a traditional orchid method and not the best option for the plant’s long-term health.
Cymbidium orchids need a potting mix that drains well and is made just for orchids to grow and do well. The roots of an orchid might not get enough drainage or support from a vase. This could cause the plant to become stressed or sick over time.
If you want to put your cymbidium orchid in a vase, it’s best to do it as a temporary arrangement. To do this, cut a stem from the orchid plant and put it in a vase with water. The branch should have at least one or two healthy, fully-grown flowers and several buds that are ready to open.

My name is Md Deloar Hossain and I’m the creator of Club Gardening, designed for all your gardening ideas, gardening product reviews, and a place to help you find the best gardening experience possible.
